Spotting Scopes vs Telephoto Lenses: A Birder’s Comparison for Long-Range Viewing
A practical comparison of spotting scopes and telephoto lenses for birders, covering optical limits, portability, digiscoping, weather sealing and cost.
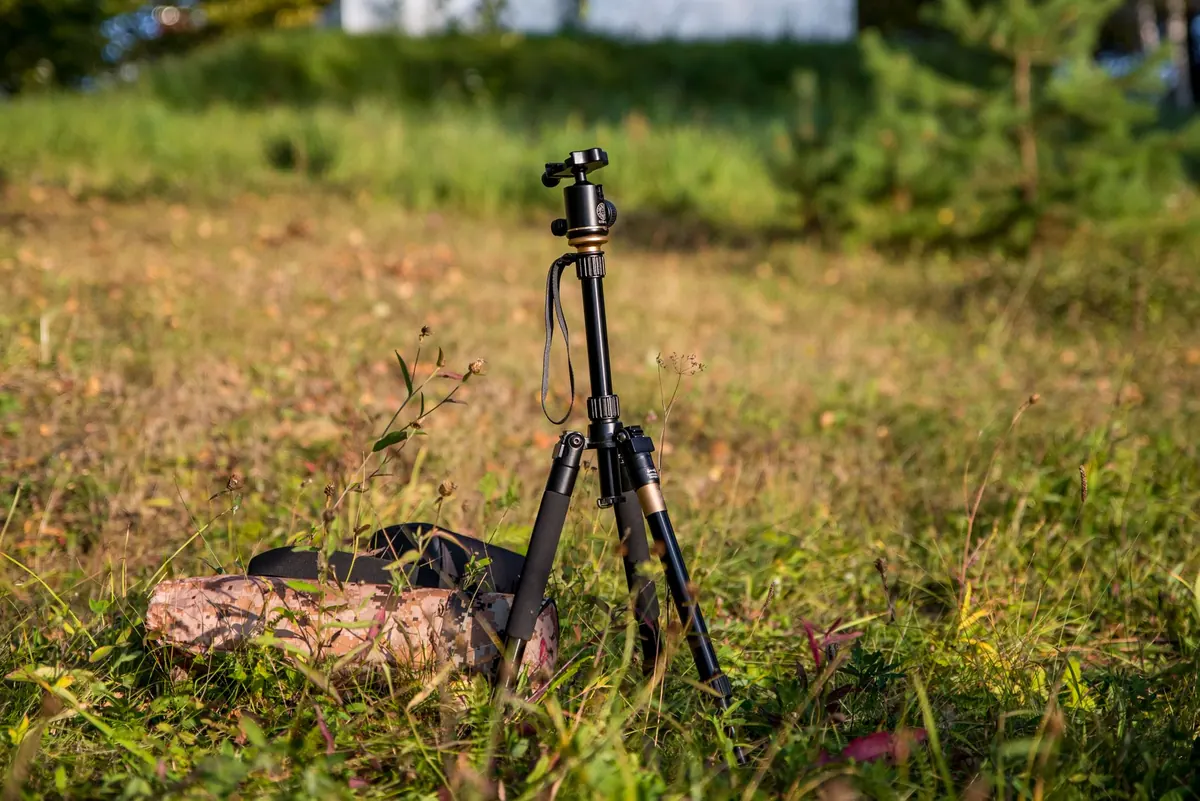
There is a moment on an estuary watch that settles the argument for you. Something small and pale is feeding two hundred metres out on the mud, half-hidden behind a gull, and you have thirty seconds before the tide pushes it closer or covers it completely. What you are holding decides whether you get a confident identification or a shrug.
Binoculars are wonderful, and every birder needs a decent pair, but they run out of reach somewhere around eighty to a hundred metres for small waders. Beyond that, you are choosing between two tools that look similar on a specification sheet and behave quite differently in the field: a spotting scope and a long telephoto lens.
Two tools, two jobs
A spotting scope is a telescope with an eyepiece. Light comes in through an objective lens of 60 to 95mm, gets magnified by a zoom or fixed eyepiece, and lands in your eye. You look straight at the bird, one eye open, both hands free, and you can stay on it for as long as the bird stays put. Most birders use an angled body on a tripod; straight scopes suit hide windows and car use.
A telephoto lens is built to project an image onto a sensor. It has autofocus, image stabilisation, a diaphragm and a mount, and it will not show you anything unless it is attached to a camera with a charged battery. You watch the bird on a screen, not through the glass.
That single difference — one shows you the bird, the other makes a file — drives nearly every other trade-off below.
Optical quality and the honest limits of magnification
Where a scope earns its keep is in the 20x to 40x range. Set a good 80mm scope on a solid tripod and the plumage detail on a distant dunlin, the bill shape on a roosting godwit, the leg colour on a gull, all become readable. That is the sweet spot, and it is where most of your identification will happen.
Push past roughly 45x or 50x and you are usually magnifying air rather than detail. Heat shimmer over mud at midday, salt haze, wind vibration and poor light all conspire against you. A cheap scope at 50x shows a bigger blur than a good scope at 30x shows sharp. Zoom eyepieces are convenient, but a fixed wide-angle eyepiece at around 30x is often brighter, sharper and far more comfortable to use, especially if you wear glasses.
Telephoto lenses work differently. A 500mm lens on an APS-C body gives a field of view similar to roughly 750mm on full frame, and because the optics form the image directly at the sensor, per-pixel sharpness can be excellent. But the magnification is fixed by the focal length. If a bird occupies a twentieth of the frame, cropping will not conjure detail that was never recorded. A high-quality scope at 40x will out-resolve a 400mm lens for pure observation, in good light, on a still day.
Portability and comfort in the field
Weight is the tax nobody mentions in the shop. An 80mm scope, eyepiece and carbon tripod together come to somewhere around four to five kilos, and it all has to be carried on one shoulder. A 500mm f/4 prime is roughly three kilos before you add a body, though a lighter 100–400mm or 150–600mm zoom can be hand-held in short bursts.
- Scope strengths: long, relaxed viewing; no batteries; easy to share with a companion; works beautifully from a hide window or a seawatching shelter.
- Lens strengths: react instantly to a bird that appears overhead; follow movement across the sky; shoot from a beanbag; no setup time on a long walk.
- Shared problem: a tripod set too low and a stiff neck by mid-afternoon.
A scope in a rucksack means stopping, unshouldering, extending legs and finding the bird again — by which time a passing skua has usually gone. A zoom lens lets you raise and shoot. If you do a lot of walking between viewpoints, that matters more than the last few per cent of optical quality.
Digiscoping: real reach, real compromise
Digiscoping means attaching a phone or a small camera to the scope's eyepiece, usually with a clamp adapter. The effective focal lengths are extraordinary and nothing else comes close for distance. It is also slow, fiddly and unforgiving.
Because the effective aperture is small, shutter speeds drop and ISO climbs, so anything moving becomes a smear. You focus by hand on the scope's ring while watching a small screen, which takes practice. Vignetting and alignment are constant irritations.
It works well for record shots: a distant flock of Brent geese, a roosting wader you want to check later, a seawatch bird you need to prove. It works badly for action. A telephoto with autofocus and burst shooting will beat it every time on a flying bird. If you do want to try digiscoping, practise at home on a fence post first, lock the phone's focus manually, use a shutter delay, and keep a spare battery warm in a pocket.
Weather sealing and long-term durability
Scopes live outdoors, often in salt spray, and the weak points are the eyepiece and zoom mechanism. Nitrogen-purged, O-ring sealed models resist rain and stop internal fogging, which is worth paying for in a coastal county. A lens hood or a small rain cover over the eyepiece keeps drizzle off the glass you are actually looking through. The lens side has no sensor, so there is nothing to get dusty when you swap eyepieces — a genuine advantage in a hide.
High-end telephoto primes are sealed to professional standards; cheaper zooms are less so, and the mount between lens and body is a common leak point. Weather sealing only works when both halves of the pairing are sealed.
A few habits protect both:
- Wipe salt off with a dry microfibre cloth before it dries, then a barely damp one, then dry again.
- Let cold gear warm up inside a closed bag indoors, so condensation forms on the bag rather than the glass.
- Keep silica gel in the case, and never store anything wet.
- Check the tripod head screws and the scope's foot plate before a long day out.
Cost, and where the money really goes
A usable scope and eyepiece generally costs less than a fast long prime, and a top-tier scope lands somewhere near a mid-range telephoto. But the headline price is never the whole bill.
With a scope, budget for a proper tripod and fluid head. It is not optional: a good scope on a flimsy support is a worse instrument than a modest scope on a solid one. Add an adapter, a stay-on case and possibly a second eyepiece. With a lens, add memory cards, spare batteries, cleaning supplies and somewhere to store the files, plus the occasional professional sensor clean.
Good optics hold their value, so a careful used purchase from a reputable dealer is a sensible route for either option. Ask about warranty transfer and check for fungus, haze and scratches with a torch before you commit.
Choosing for the birding you actually do
Count how you spend your time. If most of it is scanning estuaries, reservoirs and distant flocks, identifying and watching rather than photographing, buy the best scope you can afford and pair it with a fixed wide eyepiece. If you want images to share, and you are drawn to visible, approachable birds, put the money into a lens and a body that focus quickly.
Try before you buy. Most reserves and optics days let you take gear outside, and half an hour at dusk will tell you more than an hour of reading. Check how the eyepiece feels with your glasses on, how the zoom ring moves with cold hands, and whether you can carry the thing for two hours without resentment.
Many birders end up with both: a scope for scanning and a modest zoom lens for records, each bought second-hand and upgraded slowly. Whichever way you go, remember that no optic beats local knowledge. Knowing where the tide line falls, when the roost builds and which hedge holds the migrants will put you in front of more birds than any purchase. Keep the cloth handy, and get out before the tide turns.
Photo: Sergei Fomichev / Pexels