How to Photograph Birds at a Feeding Station: Settings, Perches and Ethics
Set up better perches, clean backgrounds and reliable camera settings for photographing garden birds, plus the fieldcraft that keeps a feeding station busy and safe.
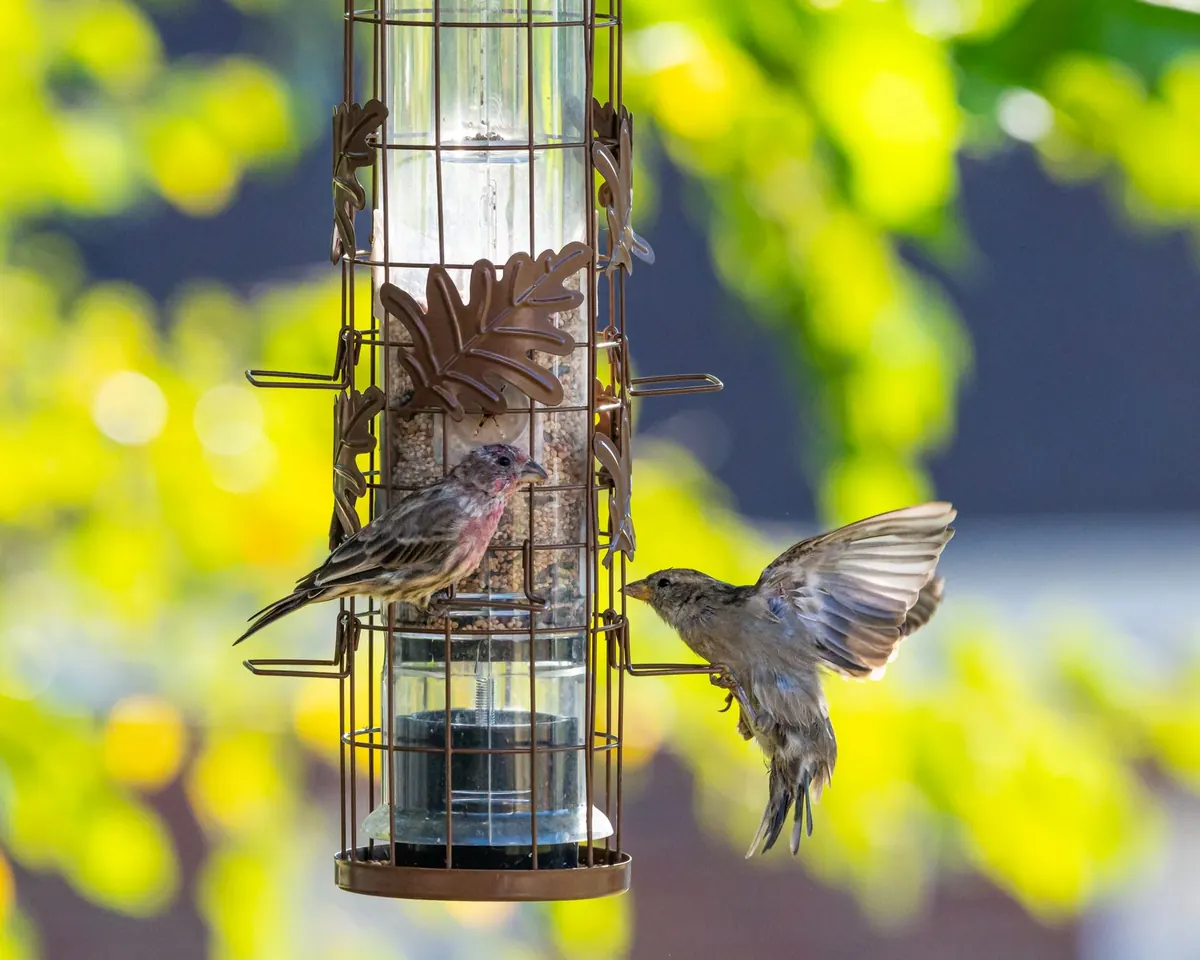
A busy feeder is the easiest place in Britain to point a camera at a wild bird. It is also the easiest place to make a disappointing photograph. The bird lands on a plastic port, the background is a shed, the light is flat, and the shutter speed was set for a sleeping cat. None of that is the bird's fault, and almost all of it is fixable before you press the shutter.
Start with the perch, not the feeder
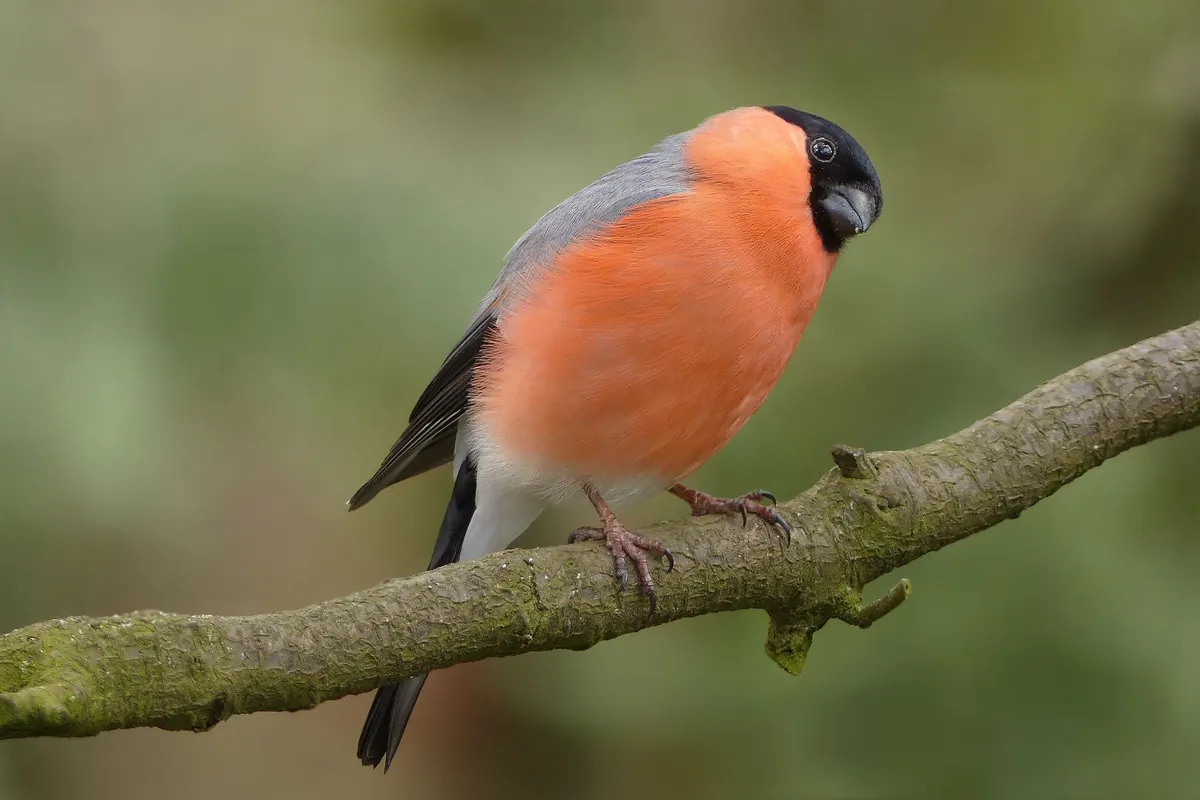
Photographs of birds on feeders are records. Photographs of birds on branches are pictures. The difference is usually about 40 centimetres of dead hazel.
Birds approach food along predictable lines. Watch yours for ten minutes and you will see the shrub, fence post or apple tree they stage from before dropping to the seed. Put a perch between that staging point and the feeder, roughly 30 to 60cm away, with the top of it level with or slightly above the feeding port. A bird that has just hopped up to look around is alert, upright and photogenic; a bird hunched over a plastic ring is not.
Angle the perch so the bird crosses your field of view rather than moving directly away from you. Fix it firmly — a branch that sways in the wind will cost you more frames than any autofocus setting. Dead wood looks better than freshly cut wood, and better than bamboo canes. Thicker material suits woodpeckers, jays and squirrels; a thin twig flatters a blue tit. Rotate your perches every few weeks so your photographs do not all share the same silhouette, and scrub them down now and then, because perches get messier than feeders.
Separate the bird from the background
The distance between a bird and what sits behind it matters more than your aperture. If the hedge is five metres behind the perch, even f/8 will render it soft. If the bird is 30cm from a fence panel, no lens on earth will blur the fence.
Get down to the bird's level, or just below it. Shooting down at a perched bird gives you lawn, patio and shadow. A low angle gives you sky, distant foliage or a shaded border, all of which behave nicely. If you are working from a window, open it rather than shooting through glass, rest the lens on a beanbag, and accept that you will photograph from the same spot for a while — which is exactly why the perch placement matters so much.
Hunt for a background that reads as a single tone: a dark conifer, a wall of shaded ivy, autumn bracken across the garden. Then check for holes. A gap of bright sky between leaves will pull the eye away from the bird even when it is only a few pixels wide. Moving half a metre sideways is often the whole fix.
Camera settings that keep up with small birds
Shutter speed and ISO
A blue tit's head moves in tiny jerks. A goldfinch flicks a wing between sunflower hearts. Treat 1/1000 sec as your working baseline for perched birds, and 1/1600 to 1/2000 for squabbles, take-offs and bathing. When a robin is genuinely settled on a cold morning, 1/500 sec with stabilisation switched on will often hold, and that extra stop can save a dull afternoon.
Set auto ISO and cap it high rather than low. A slightly grainy sharp frame is worth far more than a clean blurred one, and noise reduction handles ISO 3200 comfortably on most cameras of the last few years. If your camera lets you set a minimum shutter speed inside the auto ISO menu, do it — it protects you when the light drops and you are watching the bird rather than the dials.
Aperture and autofocus
f/4 to f/5.6 is the usual sweet spot: fast enough for the shutter speed, shallow enough to melt the clutter. Stop down to f/8 only when you want two birds on one branch in focus, or a long-tailed tit rendered sharp from beak to tail.
Use continuous autofocus, a modest burst setting, and a single point or small zone placed on the eye. Subject-detection AF is superb when it locks on and maddening when it picks a seed head instead — check the frame rather than trusting it blindly. Back-button focus rewards a little practice: focus once on the perched bird, release, and wait for the moment without the lens hunting every time it twitches.
Exposure and pale plumage
Bright sky behind the feeder drags your meter into underexposure; dark foliage pushes it the other way. Centre-weighted or spot metering on the bird, plus a glance at the highlight warning, gets you most of the way there. Pale patches blow out first — the wing bar on a chaffinch, a woodpecker's white shoulder, a collared dove's whole body — so try minus a third to two thirds of a stop and lift the shadows afterwards. Shoot RAW and you will have room to recover detail when you need it.
If the eye is sharp and the background is clean, the small imperfections stop mattering.
Work the light and the daily routine
Feeders run to a timetable. Activity peaks in the first couple of hours after sunrise and again in late afternoon; through the middle of a warm day birds tend to feed in short bursts and sit in shade. Overcast weather is genuinely good for this work — even, soft light and rich colour, provided you keep a flat grey sky out of the frame. Sun is at its best coming from behind you, or over your shoulder at a slight angle. Backlight can be lovely for rim-lit silhouettes on a frosty morning, but not for feather detail.
Watch before you shoot. Note which branch birds land on first, which way they face when they pause, and who gets chased off. A second perch on the approach side often outperforms the well-lit one you carefully positioned. Pecking order shapes everything: a jay or a woodpecker clears the feeder, and a passing sparrowhawk empties the garden in seconds. Be ready — those moments are photographs too.
Fieldcraft and ethics at a feeding station
The birds are not props, and their feeding routine counts for more than your frame rate.
- Keep feeders clean and topped up. Wash them regularly, let them dry fully, and if you notice sick or lethargic birds, pause feeding and take advice from a wildlife or garden bird organisation rather than guessing.
- Shoot from cover: a hide, a shed doorway, an open window with the lens supported. A long lens beats creeping closer every time.
- Use flash sparingly. Occasional low-power fill with a diffuser is generally tolerated; repeated full-power flashes at close range are not.
- Do not use playback to draw birds to the feeder. It wastes energy they need for feeding, and in spring it distracts them from nesting duties.
- Keep clear of nests. In the UK, wild birds, their nests and their eggs are protected by law, and disturbing them can be an offence; check current guidance if you are unsure.
- Leave the vegetation alone. Trimming a branch for a cleaner frame is not worth it.
Five common problems and their fixes
- Everything is soft. Your shutter speed is too low or the autofocus grabbed a twig. Raise the shutter, switch to single-point AF on the eye, and support the lens properly.
- The background is a fence, a bin or a car. Move your feet. Get lower, or shift sideways until the bird lines up with something distant and quiet.